How often you should clean upholstery — and the right way to do it!
8/21/2017 (Permalink)
 Shutterstock
How often you should clean upholstery — and the right way to do it!
Aug. 14, 2017 at 4:07 PM
Karen B. Gibbs
TODAY
need of a clean? What about your car? Upholstery, like carpet, needs regular attention, says Shawn Bisaillon, owner of Professional Carpet Systems of North Denver. As an industry consultant for cleaning and restoration, he's sharing insider tips for keeping upholstery looking great.
Upholstery cleaning basics
- If you're going to hire a professional: Bisaillon recommends having upholstery cleaned by a certified cleaning technician every 12 to 24 months — more frequently in households with small children or pets.
To assure that you’re getting a qualified cleaner, look for certification by International Cleaning and Restoration Association or International Institute of Cleaning and Restoration. Before booking an in-home cleaning, request the name of the technician and his/her ICRA or IICR registration number.
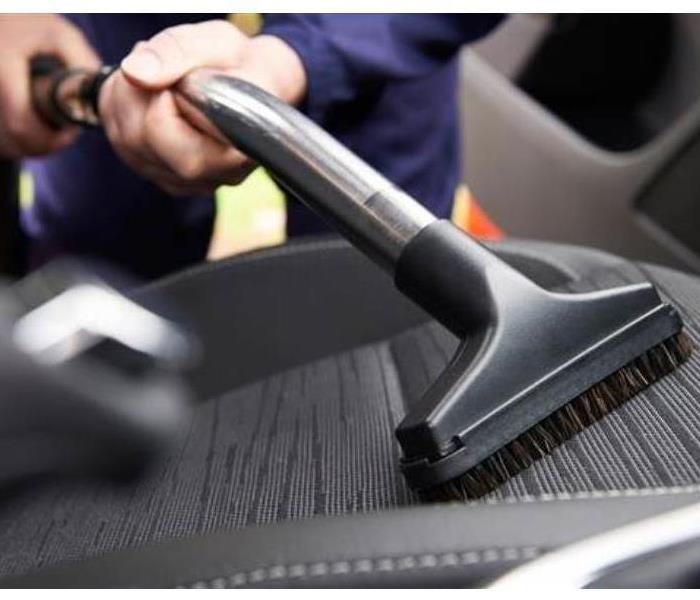
- Vacuum: Use upholstery and crevice attachments (they make a huge difference!) to pick up crumbs and dust on a weekly basis.
- Clean spills immediately: Blot them up ASAP. If the spill leaves a spot, follow instructions on the fabric care label. If it’s safe to use water, blot the area alternately with a damp towel and a dry towel to remove it.
- Treat the stain: As always, follow cleaning instructions on the fabric care label. For stains on silk and antique fabrics, consult a professional, otherwise if the stain is from an organic source, like mustard, coffee or other foods, Bisaillon suggests lightly misting it with 3 percent hydrogen peroxide.
Pro tip: Always test in an inconspicuous place first to make sure the fabric is color-safe.
These items were hand-picked by our editorial team because we love them - and we hope you do, too. TODAY has affiliate relationships, so we may get a small share of the revenue from your purchases. Items are sold by the retailer, not by TODAY.
For other stains, Bisaillon uses a CRI-approved spot remover like Benefect Impact Cleaner for Carpet and Fabric. Test it first in a hidden spot, then follow manufacturer’s directions. After working on the stain, leave a towel on top of the treated area as well as on the underside of the fabric to absorb residual liquid.
Clean it yourself
What to do:
- Start by thoroughly vacuuming, using the upholstery and crevice attachments.
- If using cleaning products to break up soil, remember to lightly mist them onto the fabric. (Overspraying can cause the cleaner to seep into cushions.) Then, with a gentle touch, groom the fabric with a soft sponge or brush.
- Rinse the fabric by lightly spraying with warm water and suctioning away moisture with a wet/dry vac. Blot with an absorbent towel. Allow furniture to dry completely before using. To hasten the drying process, use fans or place the cushions outside to dry.
Shutterstock
What to use:
For touch-ups, look for professional-grade home products like Stain X Pro Carpet and Upholstery Shampoo or any other approved upholstery product listed on the Carpet and Rug Institute website. Never use bleaches or de-greasers.
For pet messes, use a wet/dry vac to vacuum up as much of the urine as possible. Apply a bio-enzymatic urine digester, such as Urine Off or Nilodor, according to package directions.
Prepare for disaster
You can spare yourself a lot of work and expense by applying a fabric protector to new or newly cleaned upholstery, especially if the upholstery is made of delicate, soft fibers like silk. For such fabrics, professionally applied Fiber ProTector repels stains, adds UV protection, reduces static electricity and inhibits growth of bacteria, mold and mildew.
For family-friendly fabrics, professionally applied, high-performance 3M Scotchgard does the job. Regular 3M Scotchgard, while not as powerful, is a good DIY option.
Solved! The Best Way to Clean Hardwood Floors
8/21/2017 (Permalink)
 The Best Way to Clean Hardwood Floors
Get hardworking hardwood spic-and-span with these safe solutions for dusting, deep cleaning, and stain removal.
By Manasa Reddigari
Q: I never gave much thought to cleaning my cherry wood floor until I noticed how dingy it had become! What’s the best way to clean hardwood floors? I need recommendations for both cleaning techniques and supplies.
A: It’s true, regular cleaning is a must to maintain the rugged beauty of hardwood floors. Because different floor finishes have unique care requirements, the best way to clean hardwood floors will depend on the type of finish, rather than the wood species (e.g., cherry, maple, oak)—employ the wrong method and you could do damage! Read on to learn how to identify your floor’s finish, then choose the best technique and supplies ideal for dusting, deep cleaning, and removing stains.
Test your floor’s finish. There are two main types of hardwood floor finishes: surface finishes and penetrating finishes.
- Surface finishessuch as urethane and polyurethane form a protective waterproof barrier on the surface of the floor. When liquids come into contact with surface finishes, they pool rather than penetrate the wood—so it’s safe to use water and water-based cleaning products on them. The easiest way to check if your floor has a surface finish is to take a sharp knife blade to a small, hidden area of the floor and scrape off a tiny amount of finish. If the scraped material is clear, your floor probably has a surface finish. If scraping the floor finish smudges it, but no clear material comes away, your floor likely has a penetrating finish.
- Penetrating finishessuch as linseed or tung oil soak through the surface of hardwood floors, and then are usually topped with a wax coat for added sheen. These finishes easily absorb water, and water can warp wood floors, so use only solvent-based cleaning products instead of water-based ones on floors with penetrating finishes.
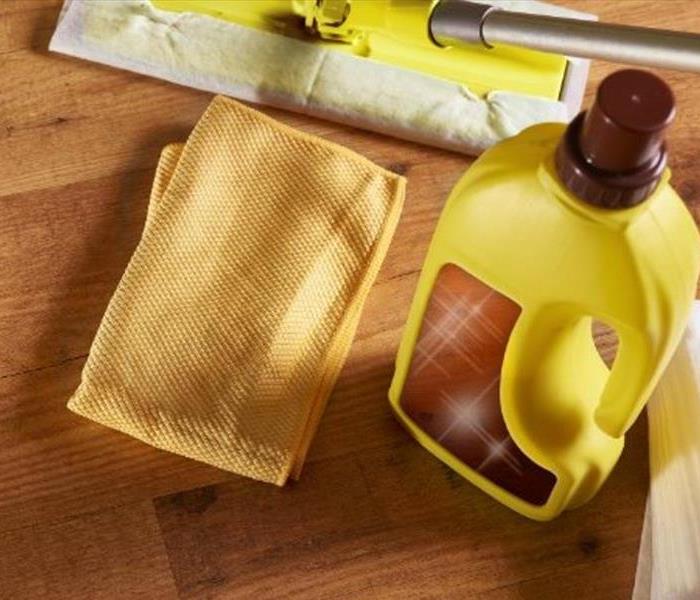
Start by busting dust. Dry mopping, sweeping, and/or vacuuming on a weekly basis is the best way to rid hardwood floors of light dust, dirt, and pet hair accumulations. Your best bet for a mop is one with a large, flat head affixed with a microfiber cloth pad that can be removed, machine-washed, and re-attached. Available in a variety of brands, including Scotch-Brite and O-Cedar, for $10 to $20 at home centers or office supply stores, these mops feature tiny synthetic fibers that reach into the grooves of wood floors to pick up and hold dust without scratching the wood. If sweeping, opt for brooms with exploded tips (synthetic fiber ends) to help trap collected dust in the broom head and prevent it from resettling on the floor. When vacuuming, use a floor-brush attachment and avoid the beater-bar—its rotating brush can dent wood floors. Move your cleaning tool from one side of the floor to the other, giving extra attention to spots where adjacent floor boards meet—this is a common hiding place for trapped dust. This routine works on floors with either surface or penetrating finishes.
Deep clean heavy dirt and grime buildup. If a surface-finished hardwood floor still looks dingy or dull after dusting, deep clean it with any pH-neutral, wax-free, and petroleum-free cleaner such as Bona PowerPlus Hardwood Floor Deep Cleaner or a homemade solution comprising a quarter-cup of dish soap and a gallon of warm water. Saturate a sponge mop with the cleaner, wring out the excess liquid until the mop head is damp but not dripping, then mop three-foot sections of the floor at a time using circular motions to draw out dirt and grime. Then, rinse the mop in fresh water, wring out the excess, and damp mop the floor again to soak up lingering cleaner. Use a soft, clean towel to dry the floor.
If your floor has a penetrating finish, the best way to deep clean it is to strip away the grimy old wax coat and re-apply a fresh wax coat. Rub a clean cloth saturated in mineral spirits over two-foot sections of the floor at a time, letting the mineral spirits dwell for five minutes on each section before wiping away with a fresh cloth dampened slightly with water; then, dry thoroughly with a fresh, dry cloth. Finally, apply a solvent-based hardwood floor wax such as DuraSeal Paste Wax with a soft cloth in the manufacturer-recommended amount, and then use the cloth or an electric polisher (buy one for between $50 and $150, or get a four-hour rental rent for about $30, at hardware stores) to buff the wax in circular motions, polishing in to two-foot sections at a time.
Perform the appropriate deep cleaning routine on a biannual basis, whether you see grimy buildup or not. It can be hard to notice on a floor you walk on every day, but once it’s clean you’re likely to be impressed by the difference!
Scrape off food stains. Remove caked-on food from either a surface or penetrating finish by carefully inserting the tip of a plastic knife under the lower edge of the debris, and then gently slide the knife upwards. Rub the scraped spot with a clean cloth slightly dampened with a few drops of water, then make a second pass with a dry cloth to sop up the water. If using this technique on a floor with a penetrating finish and a small section of the wax coat gets stripped by the knife, re-apply a dollop of solvent-based hardwood floor wax to the area with a soft cloth, buffing it in to render the area shiny and spotless.
Fight oil stains with TSP. Oil and grease stains on floors with surface or penetrating finishes easily break down when exposed to trisodium phosphate (TSP), available in powder form for $3 to $4 per pound from home centers. Donning gloves and protective glasses, dilute two tablespoons of TSP in one gallon of warm water in a large bucket. Dip the tip of a clean cloth into the solution, then use gentle circular motions to work it into the stain. Once the TSP dissolves it, run a water-dampened cloth over the area to sop up the TSP, then quickly dry the area with a clean cloth.
Ice out wax and gum. Dried candle wax, crayon marks, and chewing gum on floors with surface or penetrating finishes readily come away with ice. Fill a freezer bag with a few ice cubes, then place the chilled bag over the offending buildup until it becomes brittle, then scrape it off with the edge of a plastic spatula. If the spatula removes the protective wax from a floor with a penetrating finish, re-apply a solvent-based hardwood floor wax to the scraped area with a soft cloth, then buff it into the repaired area with the cloth.
Scrub water, ink, and pet stains well. Spots left by water, ink, or pet urine represent the most stubborn of stains. Remove them from floors with penetrating finishes by lightly sanding the stain with extra-fine sandpaper, then gently scrubbing with a coarser “00” grade steel wool wet with mineral spirits. Wipe away the mineral spirits with a water-dampened cloth, followed by a dry cloth to remove the water. Apply a solvent-based hardwood floor wax to the scrubbed area with a soft cloth and buff it in to restore its shine. Sandpaper and steel wool can degrade surface finishes, so you’ll want to tackle these stains using only a hardwood floor cleaner (like Bona Hardwood Floor Cleaner) and a scouring pad designed for surfaced-finished floors.


 24/7 Emergency Service
